iOS Applications
This topic details the tasks that must be performed to complete the distribution of mobile applications on devices with the iOS operating system.
For these tasks it is important to know the following concepts:
•AppleID
Unique identifier for the Apple developer account. This account is obtained by making a subscription to Apple as detailed in the following steps.
•Apple team identifier
Identifier that refers to certificates and profiles defined in the Apple developer account.
•Password for Apple services
Password used to upload the application to the store.
•Google-services
File that allows interacting with Google services that are used in the mobile application.
Data Collection for Signature
Signatures are used to validate the integrity and authenticity of a mobile application. The app store and each mobile device use the signature to perform this validation.
Certificates identify who has signed an application or wants to use a service. They have a code signature to assure the user that an application comes from a reliable source and has not been modified since the certificate was requested.
Provisioning profiles authorize the application to use certain services and ensure that the developer is known, that is, develops, uploads, or distributes the application.
To obtain the certificate and provisioning profile, the guide to get the signature for iOS applications must be followed.
Configuration of the Properties of Deyel Environment
To distribute signed applications, it is necessary to complete the properties of the Deyel environment with the values previously obtained in the previous step.
•Apple ID: Email registered to the Apple membership, which is used as the Apple ID identifier to access the developer account control panel.
•Apple team identifier: Apple team identifier obtained in the membership detail section.
•Password for Apple services: Password received for Apple services.
•Apple Certificate: When downloading the certificate from the Apple developer panel, it has a ".cer" extension and it should be converted to ".p12" format before configuring this environment property.
- In the command line interface, convert it to a file with extension ".p12" as follows:
▪Change the iOS certificate format to a file with extension ".pem".
| openssl x509 -inform DER -outform PEM -in distribution.cer -out distribution.cer.pem |
where "distribution.cer" is the name of the certificate and "distribution.cer.pem" is the name of the resulting file.
▪Convert file extension ".pem" to ".p12".
openssl pkcs12 -export -inkey keyname.key -in distribution.cer.pem -out distribution.p12
where "distribution.cer.pem" is the file name ".pem" and "distribution.p12" is the name of the resulting file.
▪The file with extension ".p12" generated must be converted to base64 format. The conversion can be done using online converters, for example https://base64.guru/.
Both commands must be executed in the same directory where the private key was generated according to the iOS application distribution guide in the "Certificate Creation" section, step 2.a.
The password associated with the file with extension ".p12" corresponds to the one entered when executing the conversion command ".pwm" to ".p12".
Another alternative to obtain the file with extension ".p12" is to perform the conversion in https://www.leaderssl.es/tools/ssl_converter.
•Apple certificate password: Corresponds to the password of the file with extension ".p12" previously generated.
Additionally, it is necessary to complete the provisioning profile property with the file with extension ".mobileprovision", downloaded from the Apple developer panel, according to the instructions given in the previous section "Obtaining Data for the Signature". This file must be different depending on whether it is to be distributed via QR code or via the application store.
If an application has been modeled to allow using the notifications functionality "Push", it is necessary to ensure that the previously downloaded file in the property "Enable Push Applications" is configured according to the iOS application distribution guide, at the "Obtaining the Google Services File" section.
Distribution of the Mobile Application
The distribution of the mobile application can be done via QR code and through the application store, each with different characteristics.
This distribution results in a file with an “.ipa” extension (iOS AppStore Package) that can only be installed on a device with the iOS operating system that has been registered in the Apple developer panel, according to the iOS application distribution guide, in step 6 of section "Provisioning Profile Creation".
Once the data for the signature has been obtained and the properties of the Deyel environment have been configured, it is necessary to perform the following steps to create the file with extension ".ipa":
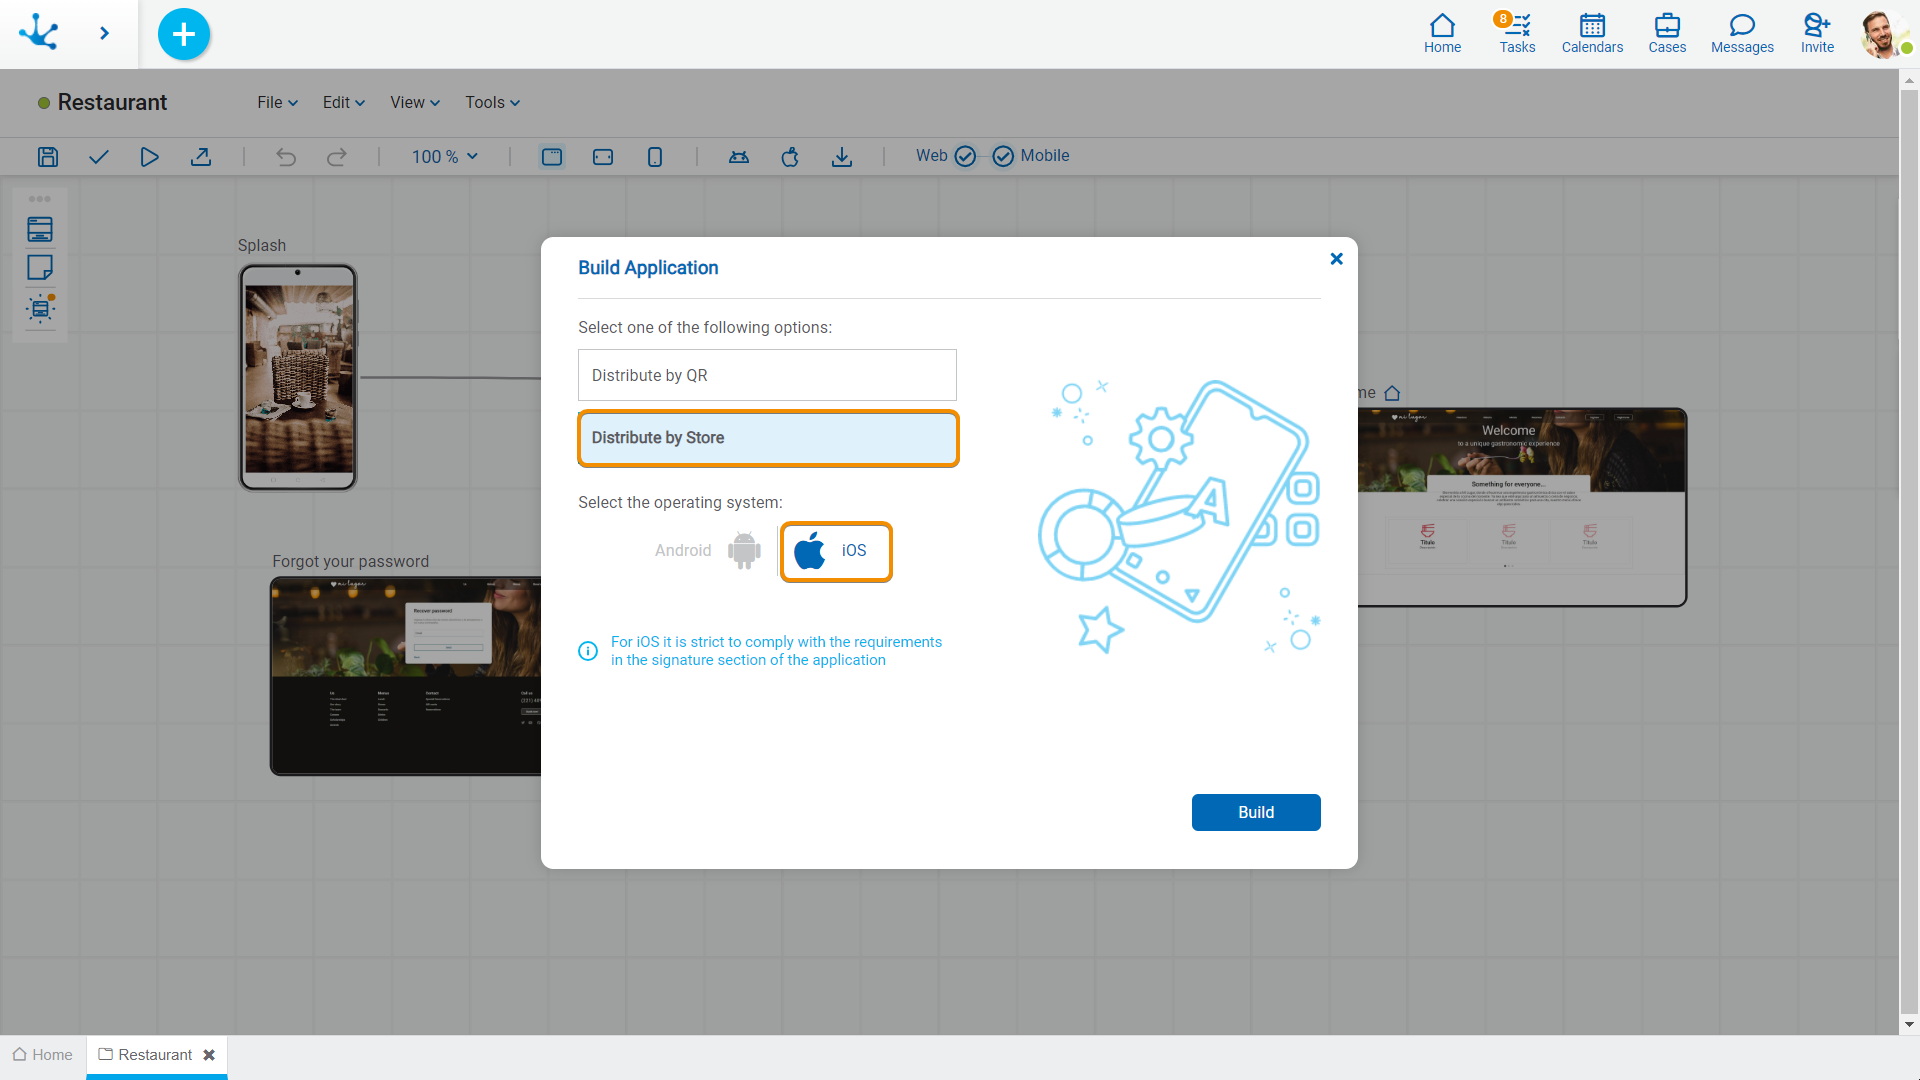
1.Select the option “Build for iOS” from the expanded menu of the applications modeler and in the open panel select distribution via QR code in the iOS operating system.
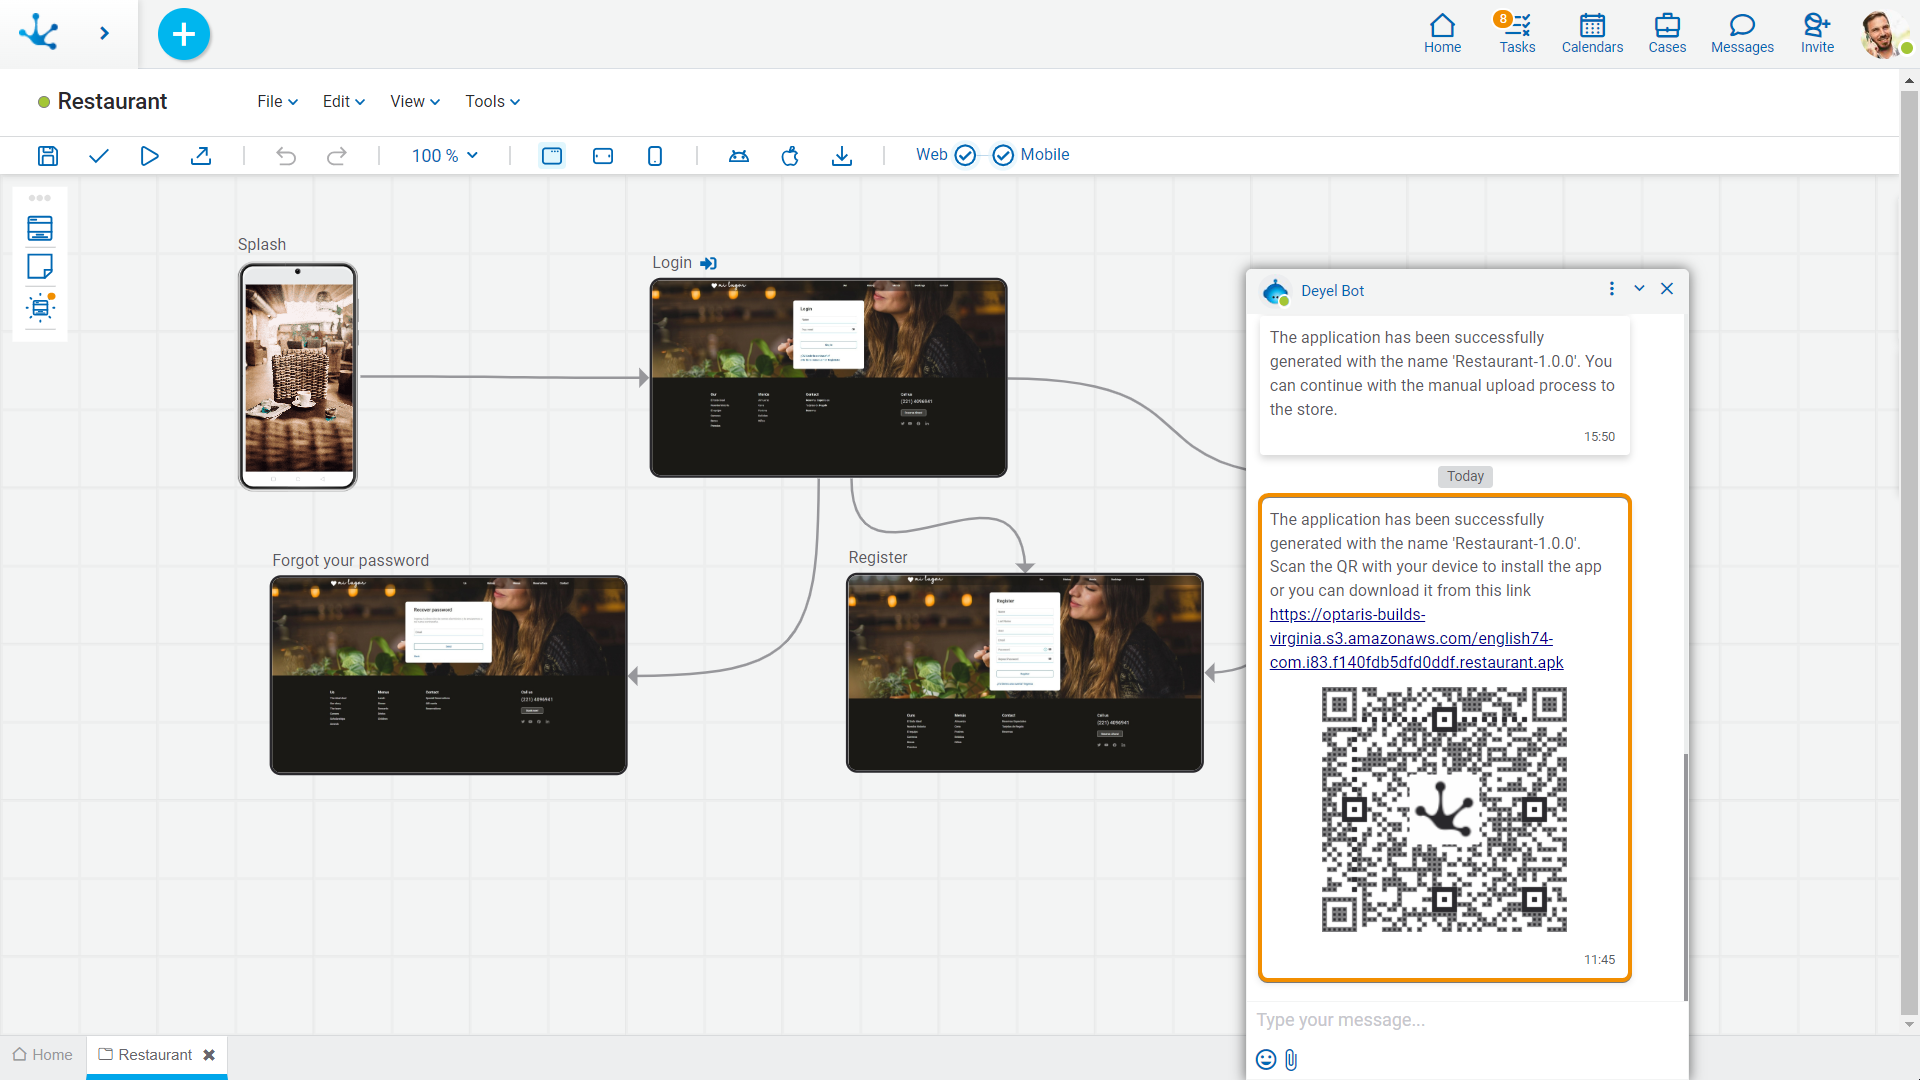
2.After a few minutes, a message from Deyel Bot is received with the result of the operation, a link to a Safari website to download the file with the “.ipa” extension and a QR code to enable installation directly from the device, using the camera or a QR code reader. Additionally, it is also possible to download from the option “Download App” from the expanded menu of the applications modeler.
Once the data for the signature has been obtained and the properties of the Deyel environment have been configured, the following steps must be carried out to upload to "App Store Connect", which is the platform that administrates the applications that reach the Apple Store:
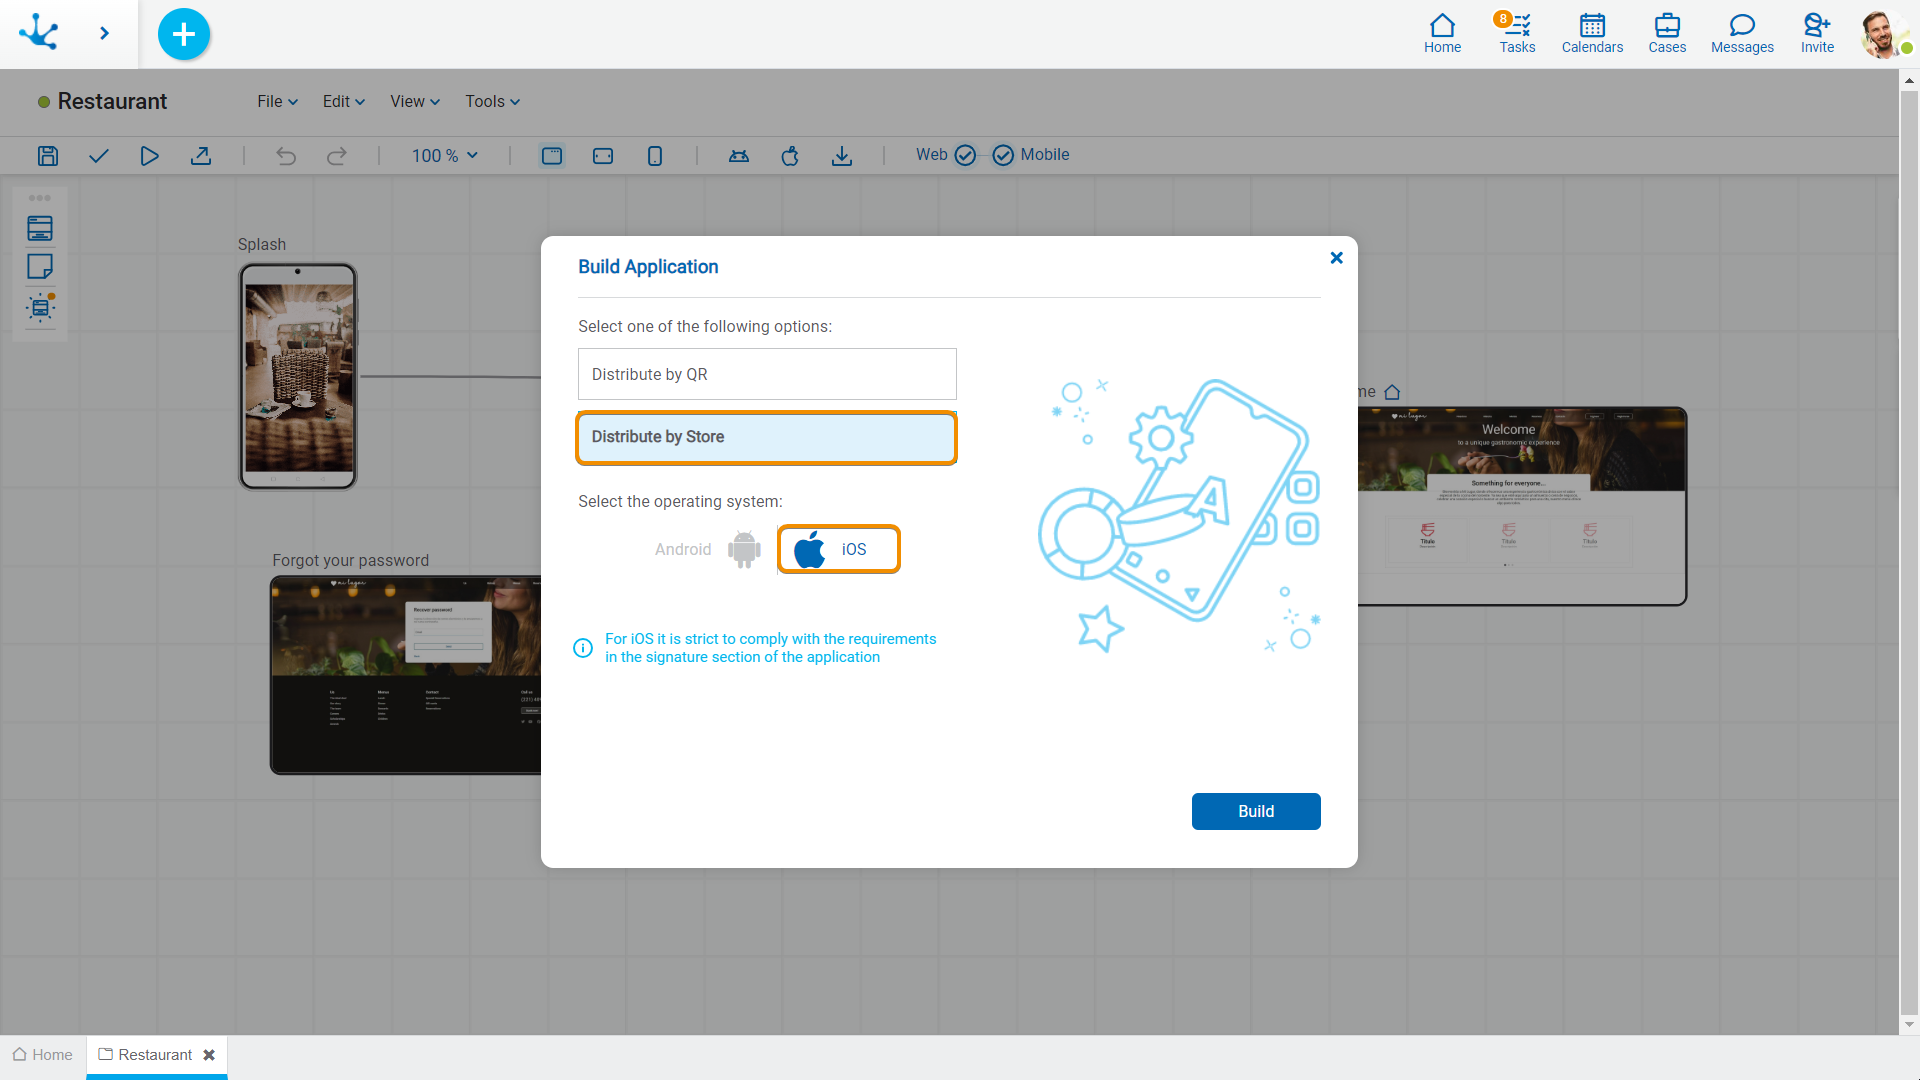
1.Select the option “Build for IOS” from the expanded menu of the applications modeler and in the open panel select distribution via store in the iOS operating system.
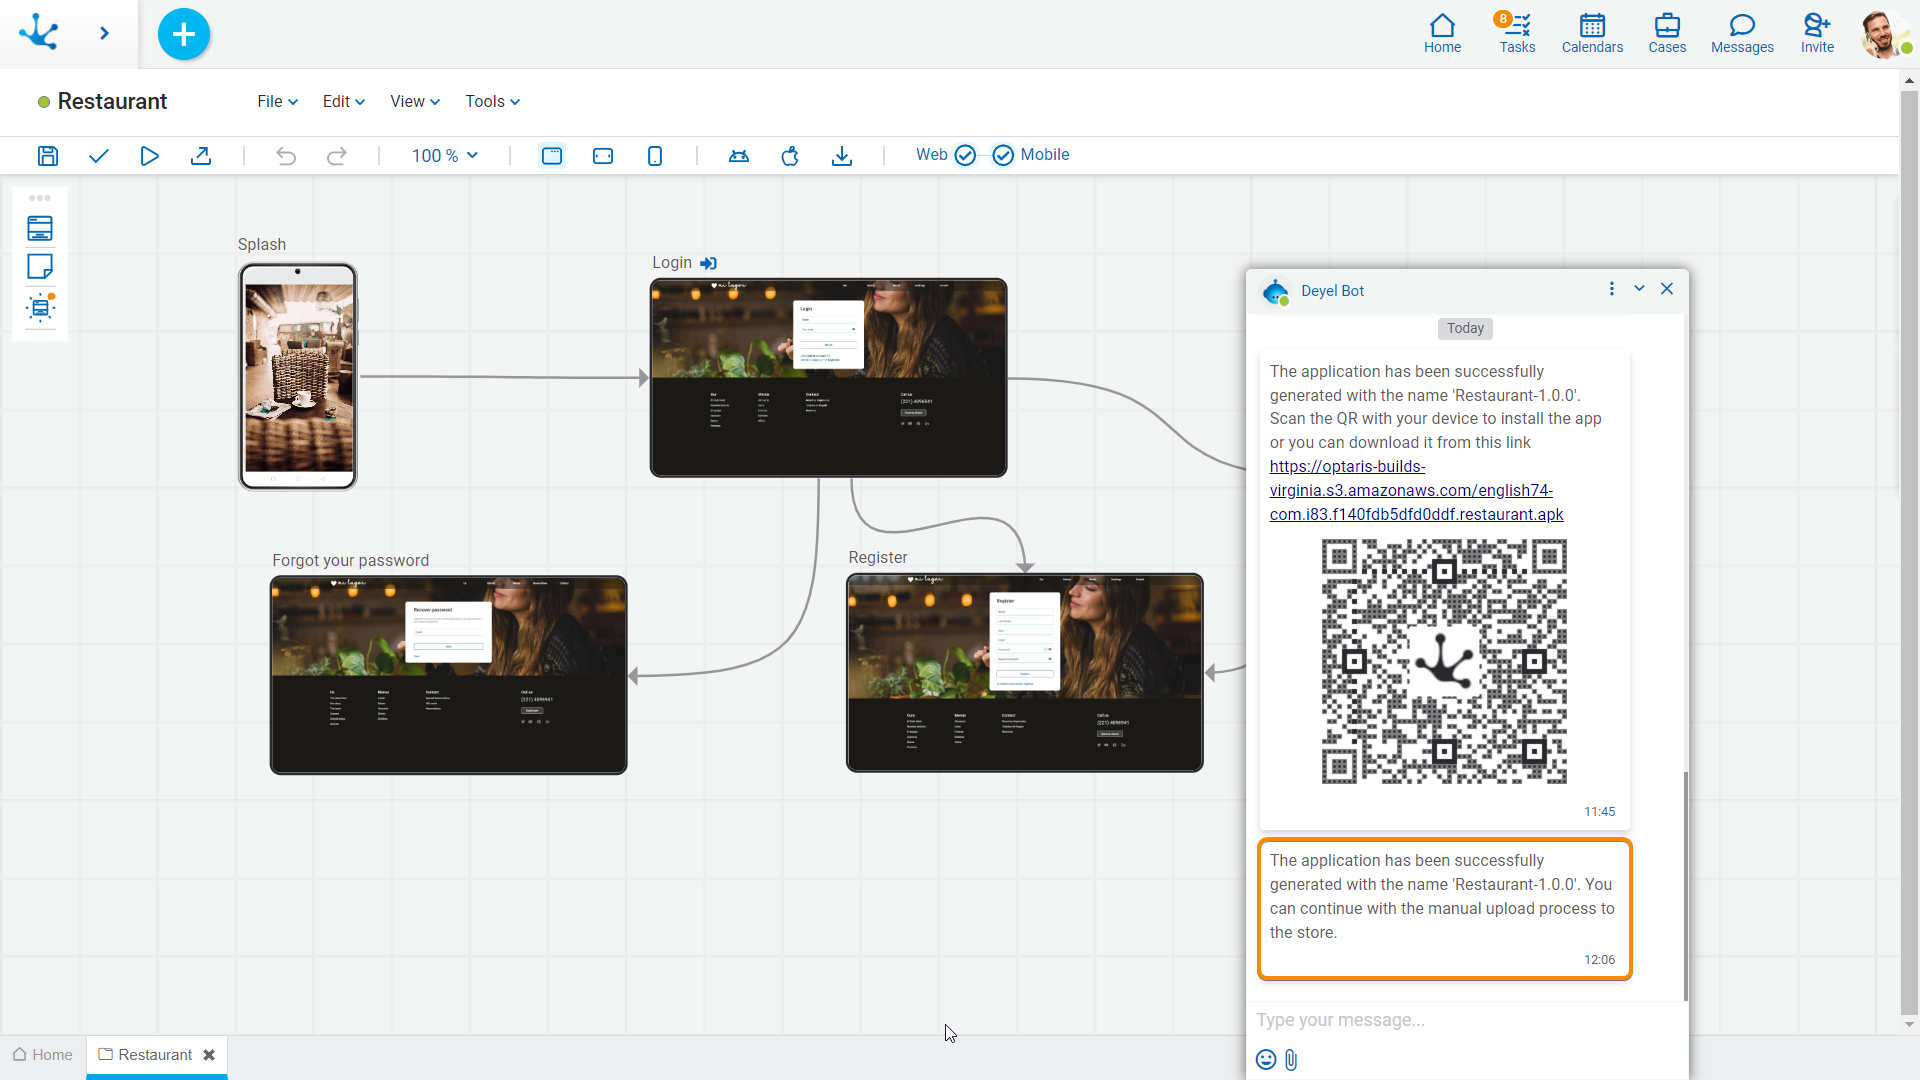
2.After a few minutes, a message from Deyel Bot with the result of the operation is received.
3.Next, the option “Upload to the Store” should be opened from the expanded menu of the applications modeler, where the application is displayed as available for selection. Select the application and click on the “Continue” button.
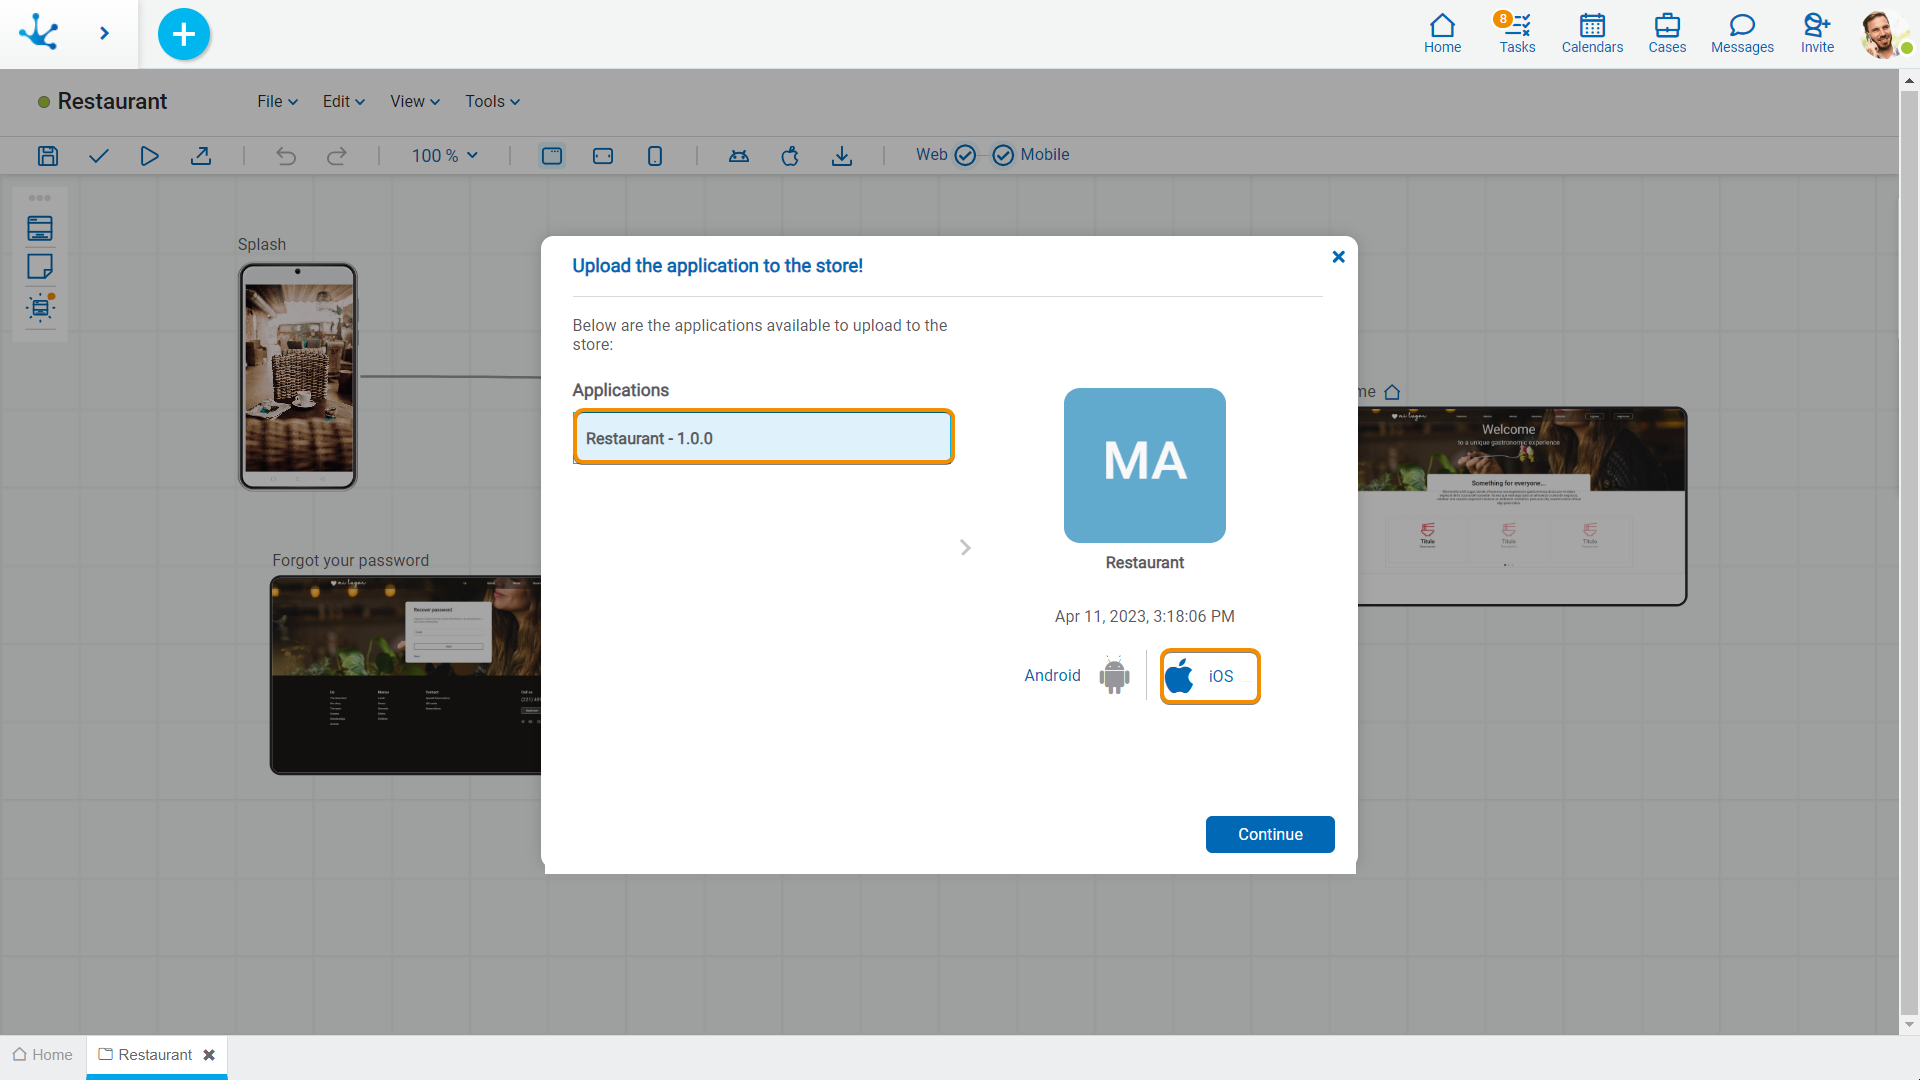
4.As a result, the application was uploaded to “App Store Connect”. To finish uploading to the App Store, the manual steps described in the iOS application distribution guide, in section "Distribution through Store" must be performed .


